Six steps to successful 'selfies'

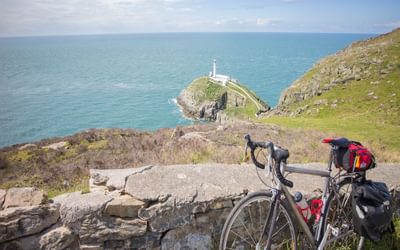
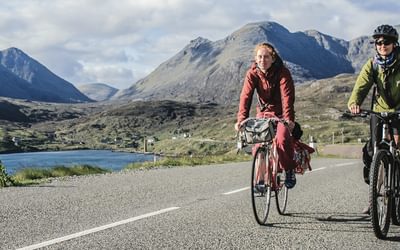
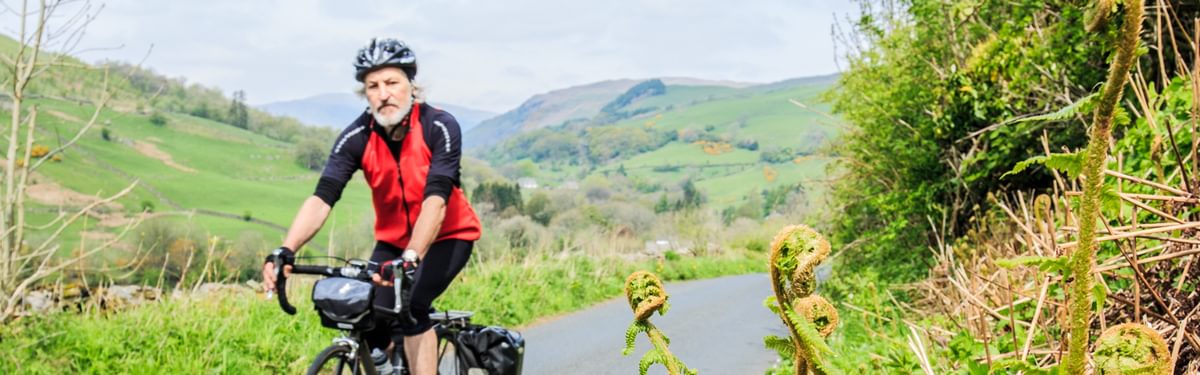
Keen cyclist and Cicerone author Richard Barrett offers his top tips for taking those tricky self-portrait shots to a higher standard than the standard Facebook fodder. Here he illustrates his article with photographs used in his books on Harris and Lewis, and on Cycling in the Lake District.
An enthusiastic photographer is not everyone’s ideal companion in the hills, or out bike riding. Their anxiety to capture yet another shot means they constantly want to stop, leaving everyone else hanging about while they change to the ‘right’ lens and wait for the ‘right’ light. If that’s not bad enough, they tend to order people around until they are in the exact spot for the precise composition they have in mind: they are constantly cajoling people ‘not to look at the camera’, and to ‘just take another step towards the edge…’. If you do need pictures combining people foregrounded against the landscape, one option is the ‘selfie’.
As an avid photographer and sometime writer of guidebooks I am all too aware of the aversion that people can have to being out with a photographer, especially one who insists on having people as foreground interest in every image. When working on guidebooks, I try to organize different groups of friends and family to accompany me for just a few days at a time. That way I don’t overstretch their patience or end up with the same people appearing in every image. There are, however, always going to be days when you are on your own, and unless there are passing walkers or cyclists prepared to step into the frame, a well-composed selfie is the only answer.
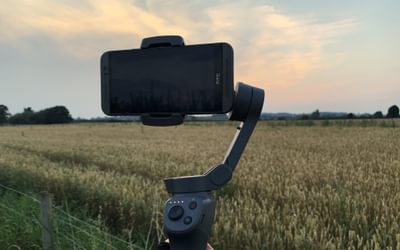
A smartphone held at arm’s length or mounted on a ‘selfie-stick’ is good enough if all you want is an ‘I was there’ shot for social media. A camera with a reversible swivel screen is even better, as it gives you more control in composing the shot. But if you are after an image where you appear in full in front of a scenic backdrop, there is a bit more technique involved.
So here are six recommendations for taking successful selfies in the outdoors. In the accompanying images, I have used a Canon EOS M mirrorless camera. This has most of the functionality found in a standard digital single lens reflex (DSLR) but is a fraction of their weight and size. These days, it is my preferred camera for travelling light outdoors.
Use a tripod
Unless you mount your camera on a tripod you will struggle to compose the exact shot you are after. Many people will be put off the idea of carrying the weight and bulk of a tripod, but having tried other lightweight devices I consider them the only viable option. These days I use a carbon fibre tripod which weighs a mere 860g and folds down to 33cm, so it is easy to slip into a pack or pannier. Professional outdoor photographers tend to denigrate lightweight tripods, arguing that they are unstable and incapable of supporting heavy telephoto lenses. It is certainly true that you need to stabilize a lightweight tripod in windy conditions, for which purpose I always carry a lightweight karabiner so I can attach a rucksack or pannier to the ring at the bottom of the tripod head. As long as you are not planning to use a heavyweight telephoto lens, to my mind a travel tripod is an essential piece of kit for any outdoor photographer. The only thing that might deter you from buying a carbon fibre one is their price, which is typically in excess of £150. If that’s the case seek out an aluminium version, which will weigh a few hundred grams more but at half the price.
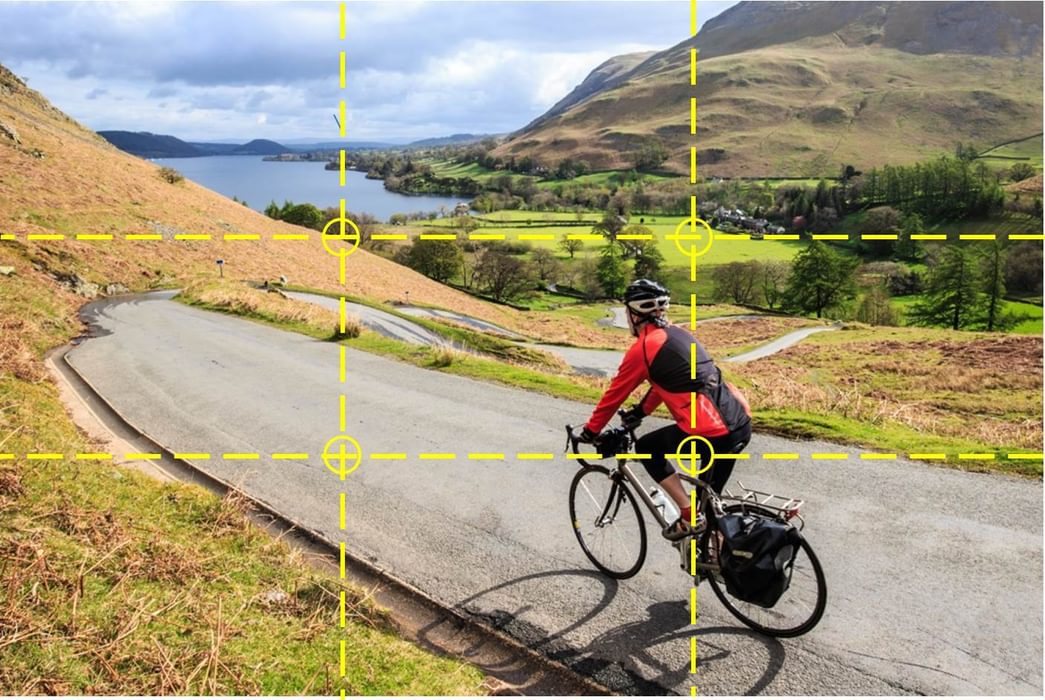
Compose the shot using the ‘rule of thirds’
Compose the shot so that the subject you want to direct the viewer’s attention to is positioned two-thirds of the way across the frame horizontally and two-thirds of the way up (or down) the frame vertically. Studies have shown that people’s eyes naturally go to one of the intersections that result from this division, rather than the centre of a shot, so it is best to exploit this human preference. Most of the time, following the ‘rule of thirds’ will give a balanced feel to the photograph.
You will have to be realistic about where you are going to be in the image, as you are only going to have ten or so seconds to get yourself into position once you have pressed the shutter. Unless you are particularly athletic forget about scaling nearby pinnacles and accept that you are unlikely to get much further than a few metres from the camera. Once you have identified where you need to be in the shot, mark it with a distinctive pebble or a coin.
Most people will be looking to capture an image with them as foreground interest against hills and mountains. A wide angle lens is best for this: choose one with a horizontal angle of view of 60–90°, which will give you plenty of room to fit in both yourself and a good slice of landscape background. If all you have got is the standard lens that came bundled with your camera, simply set it to the widest zoom range available.
Set the aperture for a large depth of field
To keep both yourself and the backdrop in sharp focus you will need a large depth of field. This is determined by the focal length of your lens and the aperture setting you choose. To achieve this, set your camera to manual exposure and dial an aperture setting of between f11 and f16. Many cameras go to f22 and beyond, but optical performance is often impaired at very smaller apertures, so somewhere in the mid-teens is the optimal position.
Get everything into sharp focus
Put something like a rucksack at the spot where you intend to position yourself and focus on that. Then turn your camera’s auto-focus off and manually set the focal distance shown on the lens to twice what it currently displays. That way everything between you and infinity should be in sharp focus.
Camera boffins will tell you that you should always use the hyperfocal distance, which is the closest focussing point that keeps objects at infinity in sharp focus. You can find charts online that will tell you what the hyperfocal distance is for different combinations of lenses and aperture settings. Although I have one of these, printed out and encapsulated in my camera bag, using it involves too much faffing around so I stick with this rule of thumb, which rarely lets me down.
Compensate for any extremes of light and shade
Now set the shutter speed to give a balanced exposure. It will typically be 1/60 second or slower, which is another reason why a tripod is essential. Getting a well-exposed image is easy when the sun is behind the camera, but you might occasionally find light leaking into the image through the viewfinder. You can prevent that by using the rubber viewfinder cover that many manufacturers incorporate into their carrying straps.
When there is a lot of sky behind you, however, your camera may struggle to make a perfect exposure. Typically your face will be left dark and underexposed, while the sky is pale and burnt out. The easiest way to address this is to set your camera to exposure bracketing, so that it takes three consecutive shots using a different exposure setting for each. This should give one shot that is correctly exposed, or a range of exposures that can be merged into a perfect image in post-production software. Some of the more sophisticated DSLRs allow you to vary the number of exposures the self-timer takes, so making a 3-stop bracketed exposure is fairly easy. If that’s not the case, you will have to return to your camera each time to press the shutter.
Take the shot
Some cameras come with a wireless remote control that can be used to trigger the shutter with a delay of 10 seconds or more. This gives ample time to fire the shutter and conceal the control in the palm of the hand. If your camera does not have such a device, or if you are too far from your camera for it to work, use the standard self-timer delay set to its maximum value. Press the shutter then hurry back into position, trying not to look as if you have just completed a 100m sprint.
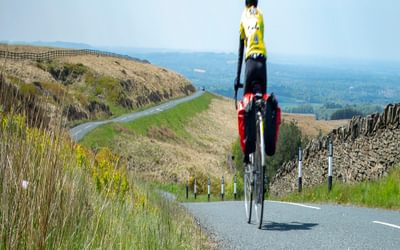
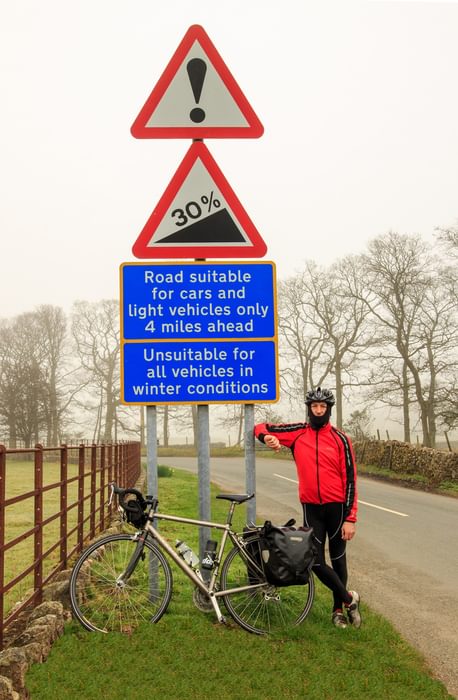
Clearly there is a fair amount of trial and error in getting back into the ideal position, especially in a cycling selfie, where you are in motion. Sometimes you will ride through the frame too early, sometimes too late. So always check the display to see whether you have a well-framed shot before you pack everything away. It will have taken quite a few minutes to get everything set up: it’s worth spending a couple more to ensure you have a really good image.
The steps above will help you get crisp images, with both yourself and the backdrop in sharp focus. Sometimes, when all you want is a self-portrait with yourself in focus and the background blurred, you will need to amend the technique. To blur the background you will need the lens aperture set at or near its widest, to give a narrow depth of field. So dial an aperture setting of f4 or below and follow exactly the same steps described above, except for making the adjustment to the focal distance. There is no need to do that as you only want yourself in crisp focus.
Proficiency will come with experience, so get out into your garden or local park and practise before you next head off into the hills. Neighbours and passers-by might think it’s just an exhibition of extreme narcissism, but it will be worth it.
To read more articles like this get our newsletter
Sign up for 20% off your next purchase and to be the first to hear about exclusive competitions, special offers, and news from Cicerone.