Winter Photography


If you enjoy battling up a Scottish gully through spindrift, you’re going to want shots that reflect that enjoyment - but such situations present real photographic challenges. More than ever, you need to think ahead, and get thoroughly familiar with your gear and techniques in easier circumstances. In this extract from their book Outdoor Photography, Jon Sparks and Chiz Dakin share their tips on capturing the best images and looking after your kit in the cold weather.
For winter activities, energy, concentration, and load-carrying capacity are all stretched. Photography has to fit in around the demands of completing the course, getting to the top, or simply surviving. The mantra ‘light, fast and simple’ becomes doubly relevant.
It’s the outdoor photographer’s eternal dilemma; when it comes to camera gear and how to carry it, speed, quality and control are often at odds with lightness and convenience.
Winter conditions accentuate this dilemma still further. Bigger cameras are typically more robust and more likely to keep on working as well as being easier to operate in gloves.
Cameras may also require extra protection, which adds more weight and bulk and can also make operation more awkward. There are no easy, one-size-fits-all solutions. And as well as the challenges of different activities, conditions beyond the norm – whether cold, wet, windy, hot or dusty – pose specific problems for cameras as well as for photographers.
Getting cold can impair your performance as an athlete; it can be just as problematic for cameras. Most camera specifications state that they shouldn’t be used in temperatures below freezing. But of course this doesn’t mean that the camera will immediately fail at lower temperatures – just that the manufacturer wants to hedge their bets.
The commonest problems are with batteries
Cold shortens battery life, often severely. The first line of defence is to ensure the battery is fully charged before you go out. Even better, carry a spare, and keep it somewhere relatively warm, like an inner pocket. Changing batteries with cold fingers can be a fiddly process, but swapping a cold battery for a warm one is often all it takes to revive a moribund camera. Once again, SLR cameras have the advantage. The cameras themselves are bigger and heavier, so they cool down more slowly anyway and they generally have bigger batteries, too, which again are more resistant to chilling out.
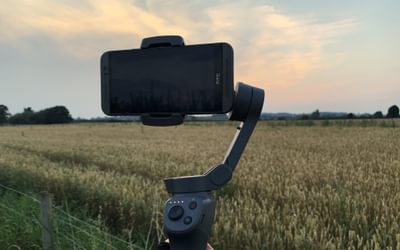
The other area which is likely to be affected is the camera-back LCD screen, which may become erratic or blank out entirely. LCDs are sensitive to cold anyway and, being on the outside, will cool down faster than the internal electronics. The camera may still be taking perfect pictures but you can no longer confirm that it is. But don’t stop shooting, because that will guarantee that you won’t get any pictures! With many compact cameras, the screen is used not just for playback but for framing the shot in the first place. If the LCD screen starts acting up, framing your shots may involve more guesswork than usual, but inexact framing is usually better than no shot at all – and you will get better with practice. This does make a case for the old-fashioned viewfinder, however, and the worst problems are likely to be found on the small number of cameras with touch-screen operation.
An alternative approach is to keep the camera under your clothes, only pulling it out when you’re ready to shoot – more comfortable with a compact than an SLR. However, condensation on lenses and viewfinders can be a problem, so simply shoving the camera next to your skin isn’t recommended; keep it under one or at most two highly breathable layers. This minimises the heat loss to yourself as well.
Neither battery nor LCD failures are likely to be permanent. Once the camera returns to a regular operating temperature, normal service should be resumed. But don’t be tempted to hurry up the warming process. Rapid fluctuations in temperature can cause problems of their own. Condensation on the outside of the camera is harmless but condensation inside can do a lot of damage.
The safest strategy when moving from a cold environment to a warm and humid one like an Alpine hut is to leave the camera in its case for an hour or longer, preferably with some silica gel
Of course, simple low temperatures are not the only challenge you may face. Blowing snow and spindrift has a nasty habit of getting into everything, including your camera pouch; such conditions really combine the challenges of cold and wet. Changing batteries, memory cards or lenses in such conditions is definitely a last resort and should only be undertaken with extreme care.
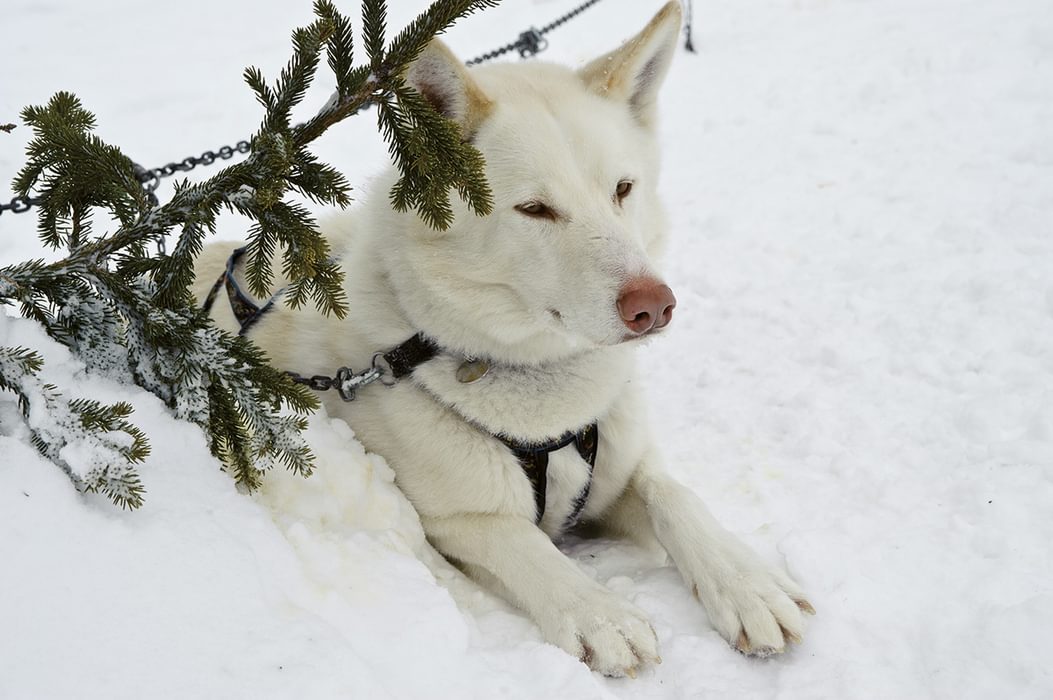
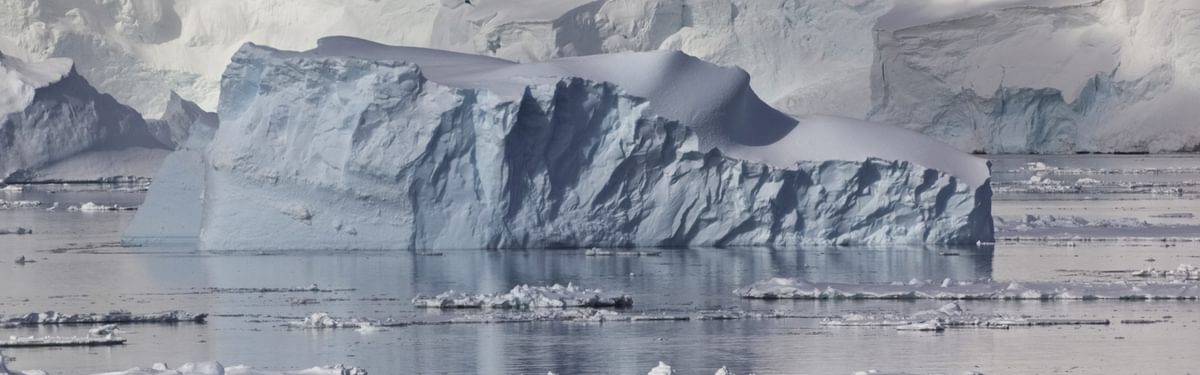
But it’s not all bad. Cold also usually means frost or snow, which can create fantastic photo opportunities. We all know that even the most mundane and familiar landscape can be magically transformed after a hard frost or deep snowfall. In high-latitude winters, the sun tracks across the sky without ever rising very high. While this makes the days shorter, it also gives lovely acute light for most of the day. Visibility can also be at its best; good winter days have a special crystalline clarity. It all adds up to a unique, vibrant quality of light.
And how to capture the coldness of your environment in an image? Setting a slightly bluer white balance to normal can help, if it doesn’t make the image look odd (particularly an issue with people shots), but far more often it’s the layers of clothing people are wearing in shots, the hoar-frost on their clothing, hair and rucksacks, or the glistening of snow and ice in the image that tell the tale.
Lots of white stuff around can cause problems for metering systems so look out for that.
This is where you want the LCD screen to keep functioning so you can check the histogram and/or highlights display. Normally, the camera will tend to reproduce all those whites as something nearer a middling grey and positive exposure compensation of +1 to +2 may be needed.
Note: There is much more information on setting white balance (and understanding other settings) in Outdoor Photography.
Winter sports can involve some of the fastest motion the outdoor photographer is likely to encounter. This applies first and foremost to downhill skiing.
On the piste, don’t stop to take pictures without checking behind you. Stopping at the edge of the piste is usually safer than stopping right in the middle.
Make sure you’re well ahead of your companions to give yourself the necessary time to stop, get the camera out and be ready to shoot. Unless you’re simply a much better skier than they are, arrange this beforehand. On a typical piste skiing holiday you may do some runs several times. The first time down, you may simply want to get the hang of the run. Use the second run to scope out one or two good shots for shooting and then take the shots on the third descent. If you’ve pre-arranged things with the team, and they have at least a modicum of control, they should be able to carve turns as they pass you at a negotiated distance. If you trust them and you have a wide-angle lens this could be very close indeed and the results can be spectacular. A much wider separation – 5 to 10m – and a longer lens will work well for panning shots.
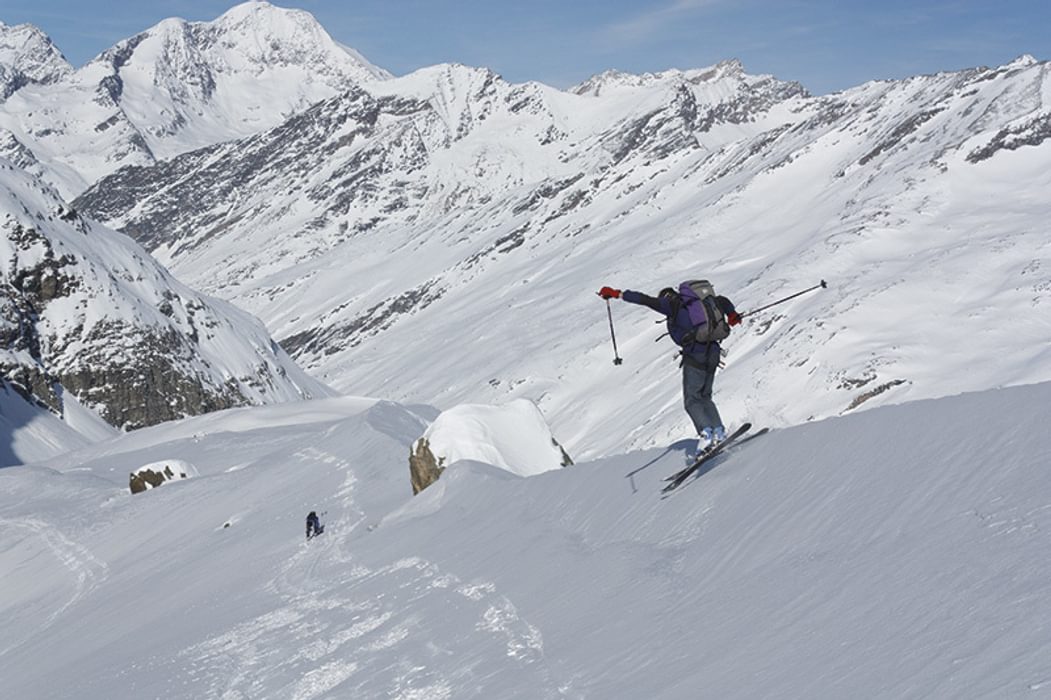
Freestyle skiing and boarding create great opportunities for shots of aerial action, and it will usually be relatively easy to predict where this will happen. In these shots skiers and boarders may be seen against a dark high-altitude sky rather than a white snowy backdrop, so the exposure problems may be inverted and some negative compensation may occasionally be needed. If the action is close to you, using flash will help to sharpen it up, but not without warning your subjects.
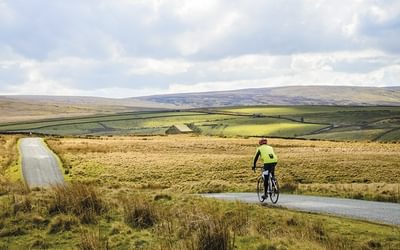
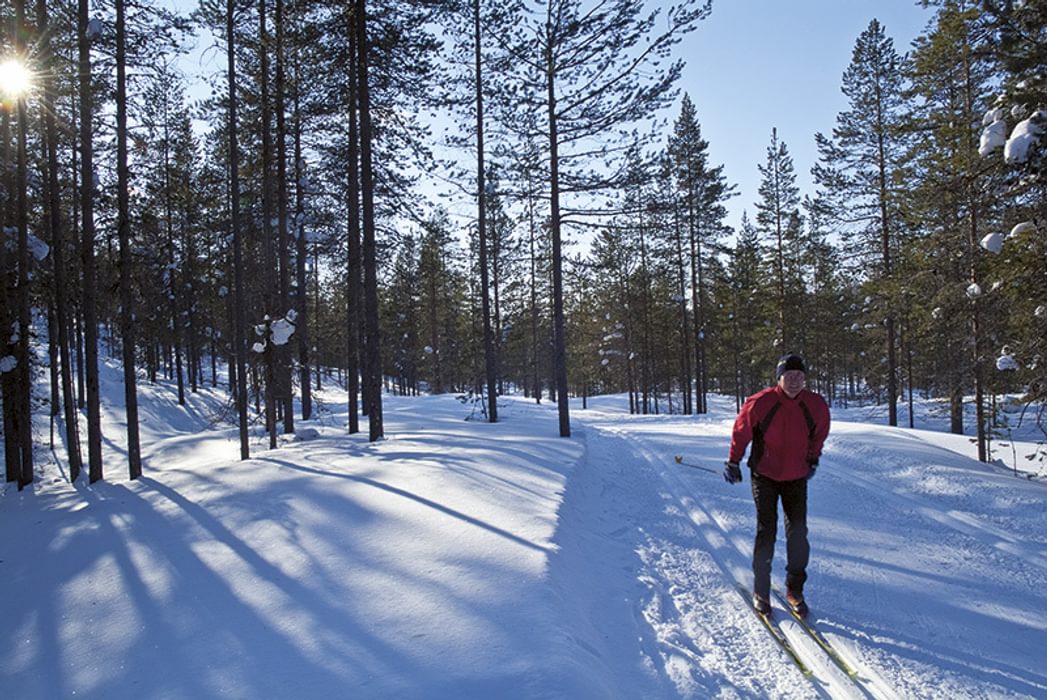
The demands of cross-country skiing photography are quite similar to cycling or mountain biking. Prepared trails (or loipes) are fairly narrow and as soon as you step off to the side, if not enveloped in trees, you may sink into half a metre of powder snow. Picking your spot to stop and shoot is a definite art. Simply stopping in the tracks is only an option on quiet loipes – and with a team who have been forewarned!
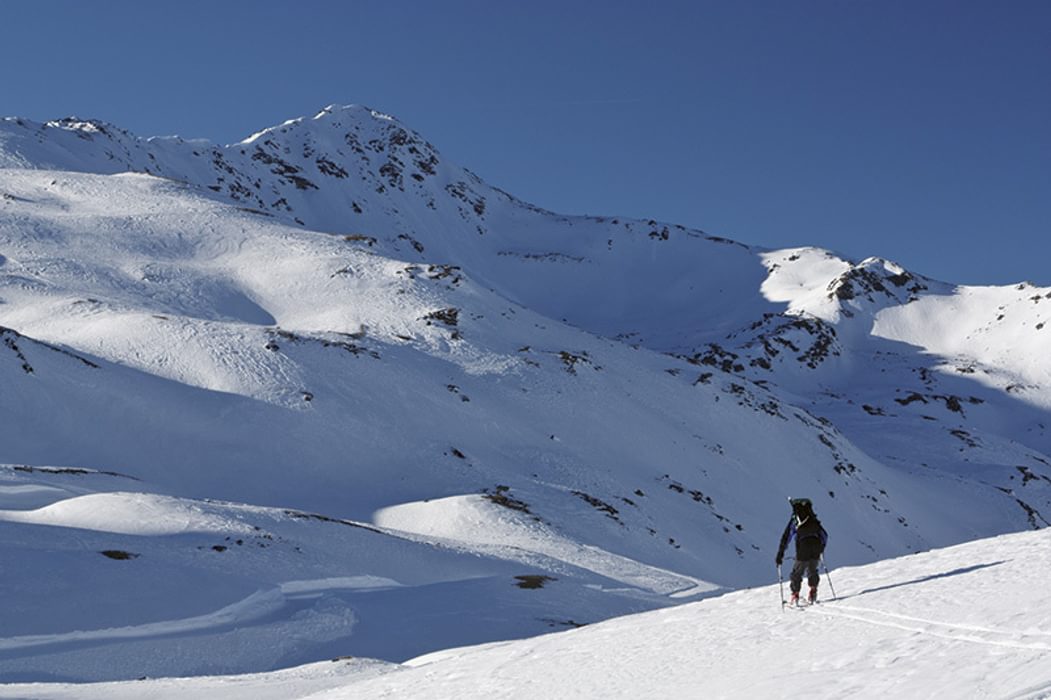
Ski touring combines the trekking and snow-safety issues of winter mountaineering with the speed issues of downhill skiing. Ridge lines and arêtes make excellent backgrounds. If you are unsure of your abilities to stay upright, the best advice is to shoot mostly uphill (when you’re unlikely to fall over), and put the well-padded camera away safely in a rucksack for steep downhills or tricky ground, getting it out only while stopped (which may be purely for taking a pre-arranged photo of your mate at speed!)
In all forms of skiing, carrying the camera on the hip is not an option and round the neck is definitely not advisable either. For small cameras a zipped pocket is best for safety and accessibility, otherwise the best option for easy access of system cameras is to carry it on your chest. Simply clipping the camera pouch to rucksack straps with short lengths of bungee cord and/or miniature karabiners can be very effective. Alternatively, if carrying nothing else, the camera pouch can go on a waist belt, slid all the way round to the small of your back. Picking the best option can depend on what least affects your balance. For a skier of limited ability it might depend whether you think you are more likely to fall on your back or on your face! For more advanced skiers, although the likelihood of falling forwards is probably greater than backwards, it is easier to ’curl up’ around the camera (to protect it as you fall) if it is on your chest rather than on your back. You may well find this comes naturally.
While the safest and most comfortable place to carry a system camera is in a backpack, this means you’ll take fewer photos and it will take longer each time to stop and get ready. Quick-access zips on rucksacks may help.
In really extreme conditions, photography will sometimes be the last thing on your mind. This is as it should be.
But as long as you can shoot without compromising basic safety, winter conditions can also produce some of the most memorable images. And, while it might be nice to have everything technically perfect, in really extreme conditions almost any shot will probably have a strong story to tell.
Alan Hinkes
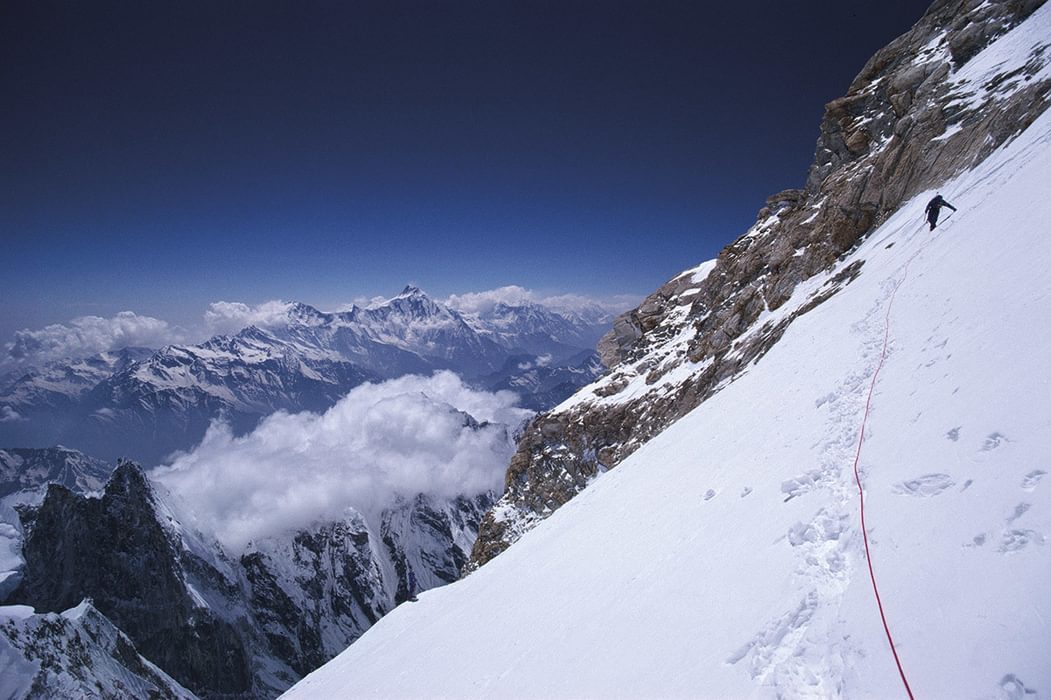
Perhaps some of the most exceptional photographs seen in many years have been taken by Alan Hinkes on his various high altitude expeditions in the Himalaya. In this extract from 8000 metres – Climbing the world’s highest mountains, Alan describes some of the challenges and techniques to take his extraordinary images.
‘Most of the cameras that I used were mechanical, usually range finder type, rather than SLR. For still photography I could take out 100 rolls of 36-exposure transparency film, which is a day sac full in volume and a lot of extra weight. En route this bulky cargo of film would be X-rayed many times and on the trek to Base Camp it could be cooked in the heat of the day and frozen at night. Not a recommended treatment for producing the best quality images.
All this quantity of film is now replaced by a couple of small memory cards that can be safely X-rayed. Happy days.
All digital cameras are electronic and rely on batteries, but I keep them warm next to my body and bring them out briefly for taking photos. On Kangchenjunga in the gloomy light just before dark my new digital camera proved its worth capturing a great arm’s length summit photo, using fill-in flash and auto focus.
Film-making used to be more arduous. 16mm cameras had only two minutes of film and no sound, unless a separate audio recorder was used. I made 13 half hour documentaries on my expeditions initially using 16mm and Hi-8 video before mini DVC.
Taking photos and filming always adds to the risk, slowing down the climb, and handling a camera in sub zero temperatures increases the likelihood of frostbite.
I filmed myself, either at arm’s length or balancing the camera on a rock ledge, climbing past it and returning to retrieve it, which meant I had climbed that section three times.
Descending Makalu, I had a near miss filming my climbing partner, Dawa. Concentrating on my camera work I had let my guard down. I forgot the precarious position I was in. Balancing on my crampon points above a 1000m-drop, I slipped, but luckily my rope held, saving my life. It was a close shave.’
To read more articles like this get our newsletter
Sign up for 20% off your next purchase and to be the first to hear about exclusive competitions, special offers, and news from Cicerone.